

NEW for 2026!
IP65 housing for OpenSprinkler
$ 50.41
Product information “Plastic control cabinet IP65” Control cabinet with galvanized mounting plate and locks. Type 1 Type 2 Type 3 External dimensions: 210x280x130mm 250x350x150mm 300x400x170mm Internal dimensions: 160.6 x 236.6 x 118mm 195x300x139mm 245x352x159mm Number of locks: 1 2 2 DIN rail mounting (recommendation)*: 6cm from top, 7cm from below 8cm from top, 10cm from below 8cm from top, 10cm from below Suitable for 1x DIN rail power supply 1x OpenSprinkler or OSPI 1x relay compact (depending on the power supply size) like type 1, additionally 1-4x relay or large power supply (Zone Expander as Biplane possible*) like type 2, additional relays and Zone expanders Recommended for Garden/lawn irrigation raised bed Small greenhouse larger garden/lawn irrigation (>8 valves) Greenhouse/houses Several (raised) beds Light control Space for expansion like 2, but space for further installations, transformers (bell/light), power distributor etc Lots of space for expansion Notes: Ideal for DC / DCE because of the small power supply Two top-hat rails are delivered cut to size – Resistance: Chemical agents, alkalis, oils, salts, etc. – Door hinges with all-round seal – Operating temperature: -35°C 65°C – Material: HB ABS impact-resistant, halogen-free – Mounting plate: galvanized steel 1 mm – IP degree: IP65 – IK grade: IK08 – Color: light gray, RAL7035 gray – Incl. locking key & fastening material A notice: – The housing should not be installed in the sun as this can cause deformation and discoloration. Scope of delivery: – 1x control cabinet – 1x control cabinet key – 4x wall brackets including screws – 2x top hat rail with fastening material – 2x DIN rail bracket with screws for OpenSprinkler 3.0/3.2 or OSPI – 4x housing bushings for cables – Connection cable for OpenSprinkler to AC or DC power supply Not included is: – Power supply – Power cord – OpenSprinkler – Cable for solenoid valves Necessary tools: – Drill metal drill, large drill or step drill for the cable openings – Screwdrivers in different sizes What you then have to do to make everything work: – Mounting the top-hat rails: drill 4 holes and screw them together – Hole(s) for the cable feed(s) – Installation in a suitable location: Shady area under a canopy (wall mounting brackets are included or drill directly) – Wiring with power and connecting the irrigation valves – For OpenSprinkler with Ethernet: connection to the network, otherwise via WiFi Construction instructions downloads: German English French Further information (manual, circuit diagram) here: Manual and downloads You can find suitable power supplies here: DIN rail power supplies
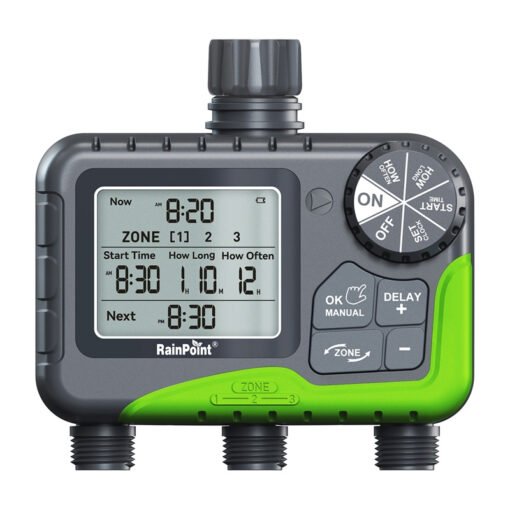 3-Zone Hose Timer RainPoint ITV305
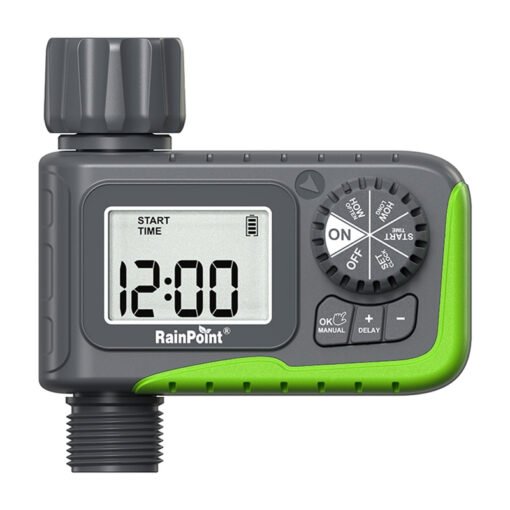 1-Zone Hose Timer Rainpoint ITV105
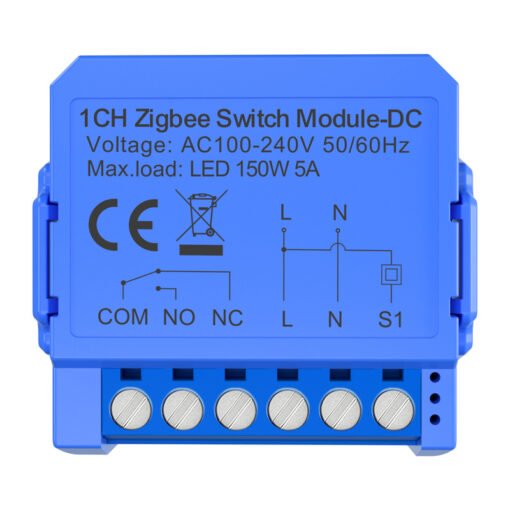 1-channel ZigBee switch module with voltage-free contact Avatto ZWSM16-DC32V-1